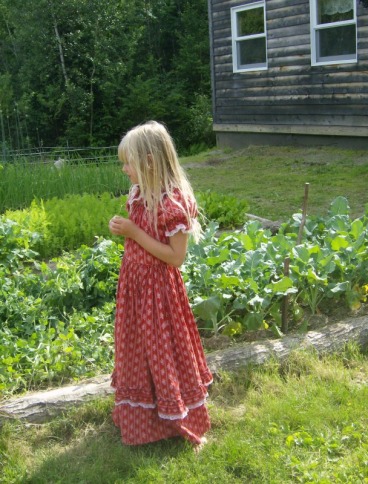
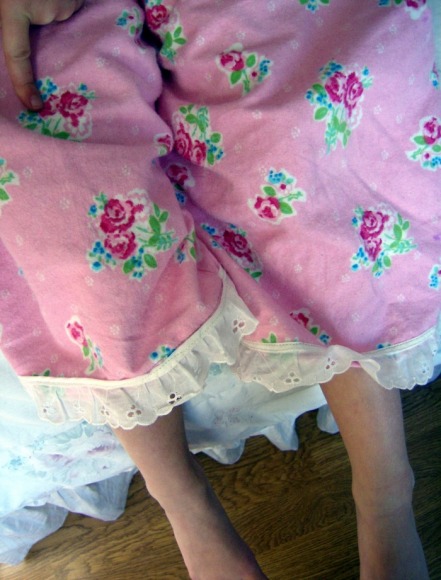
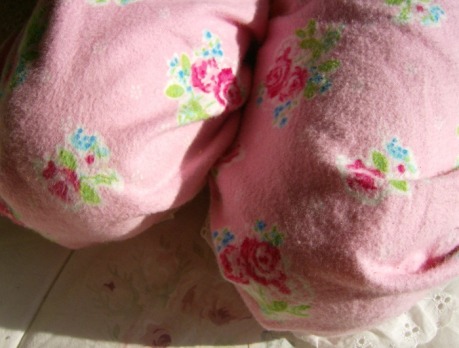
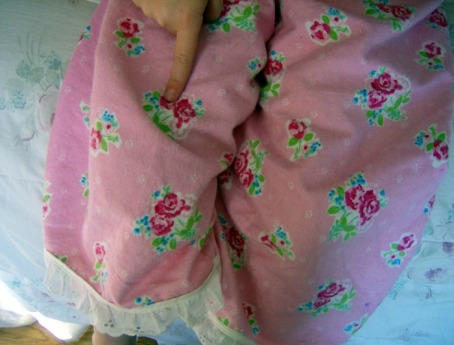
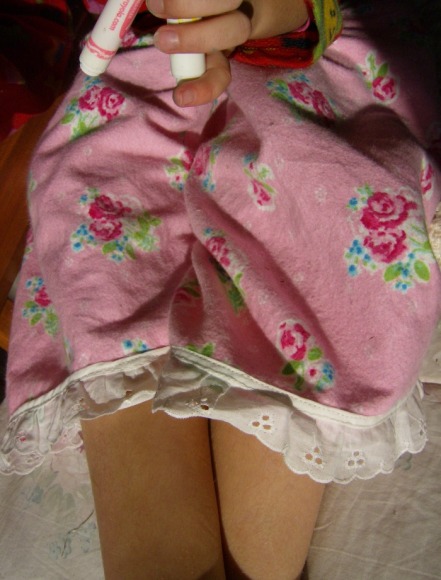
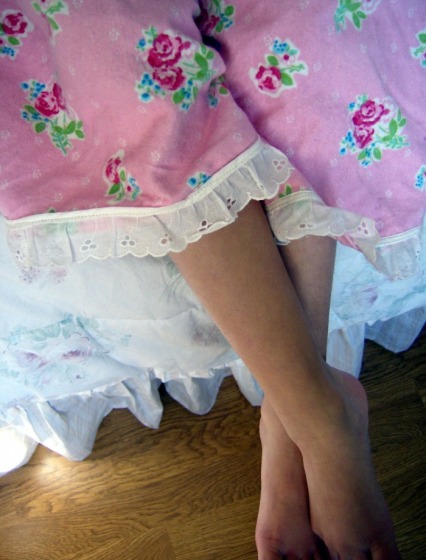
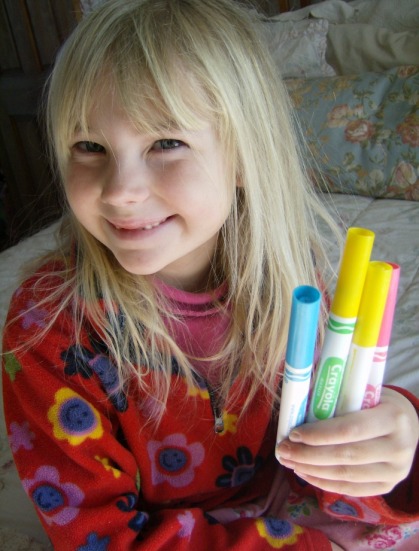
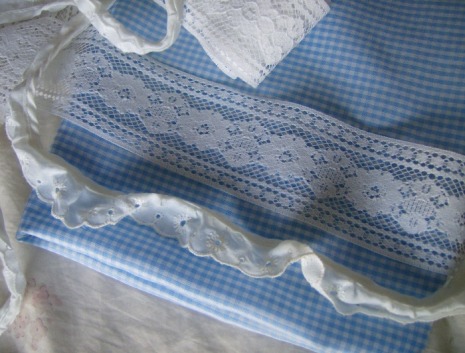
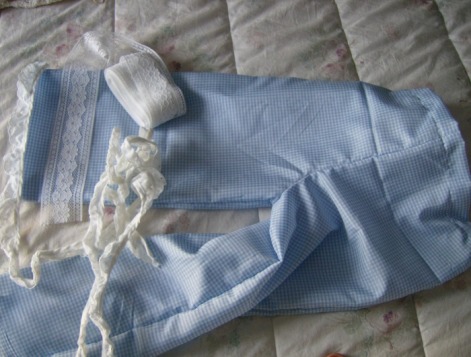
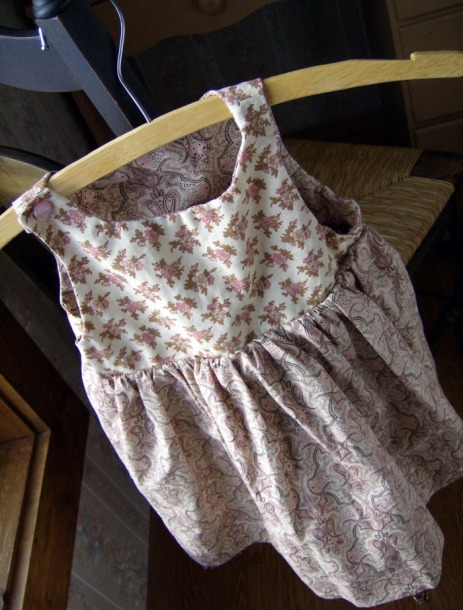
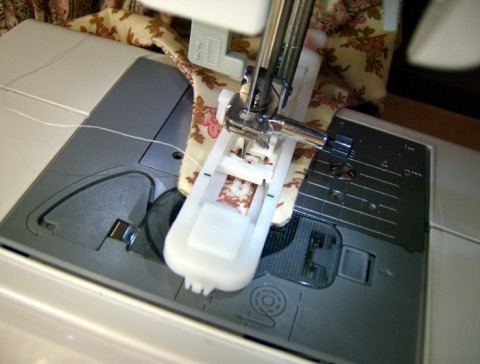
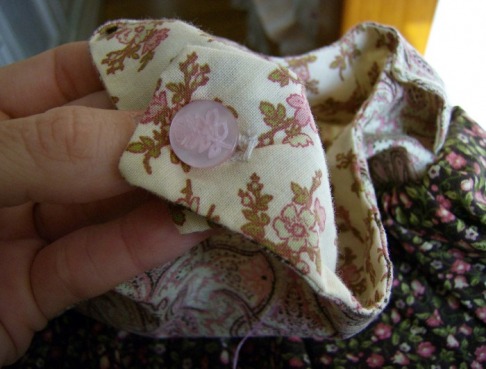
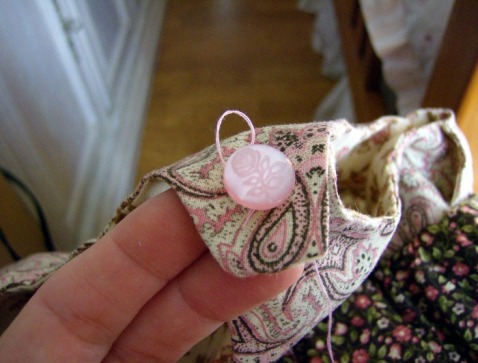
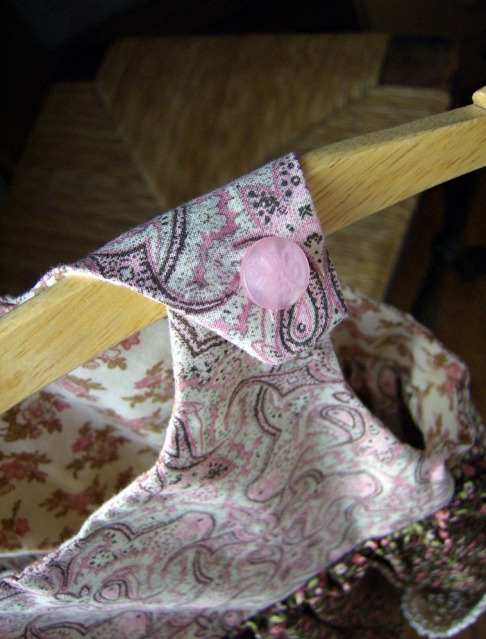
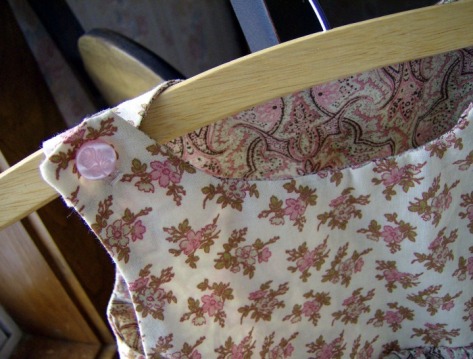
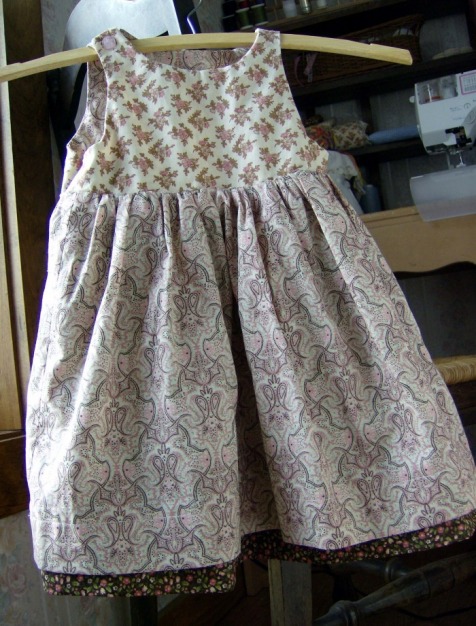
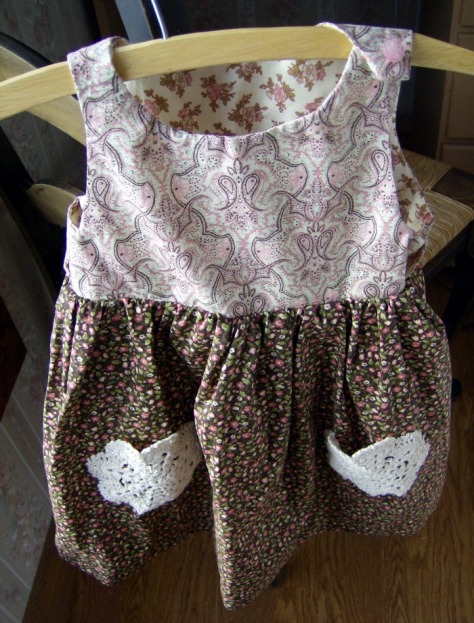
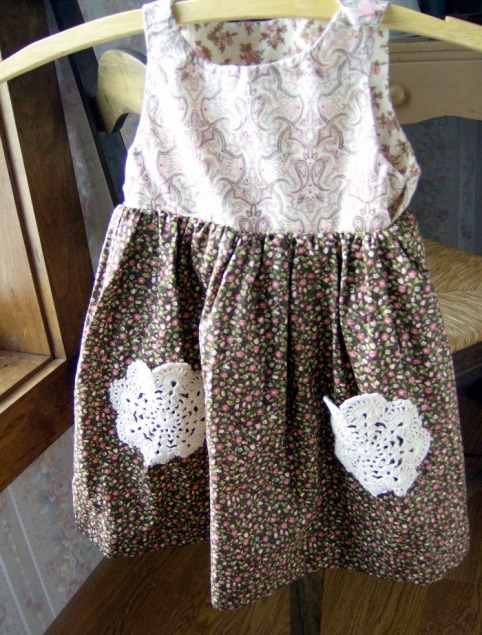
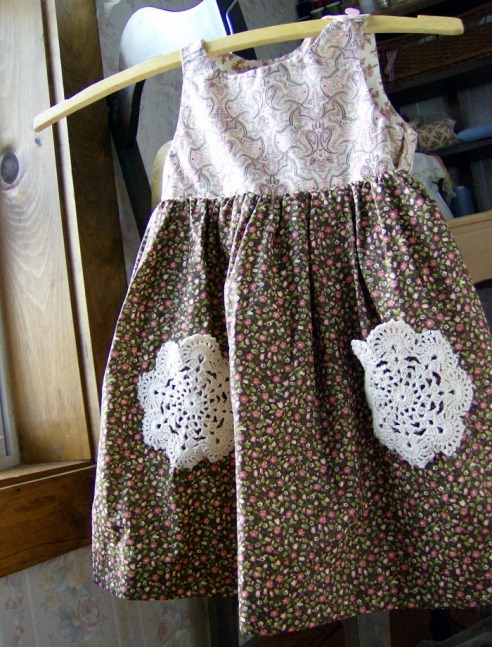
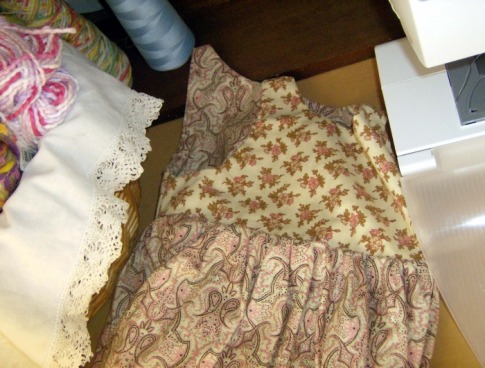
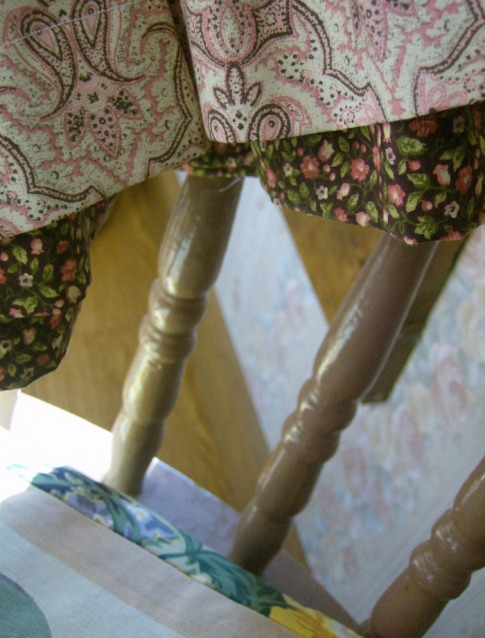
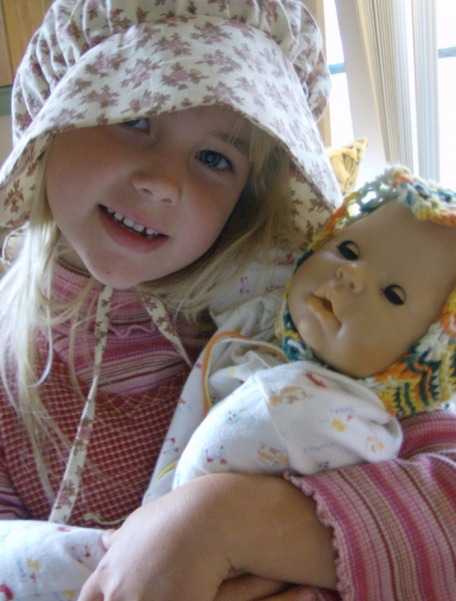
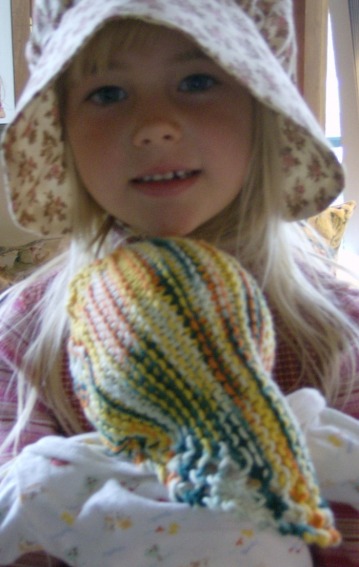
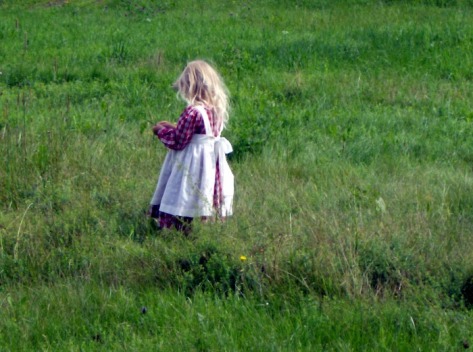
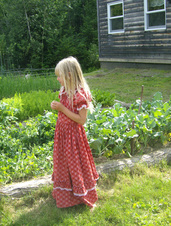
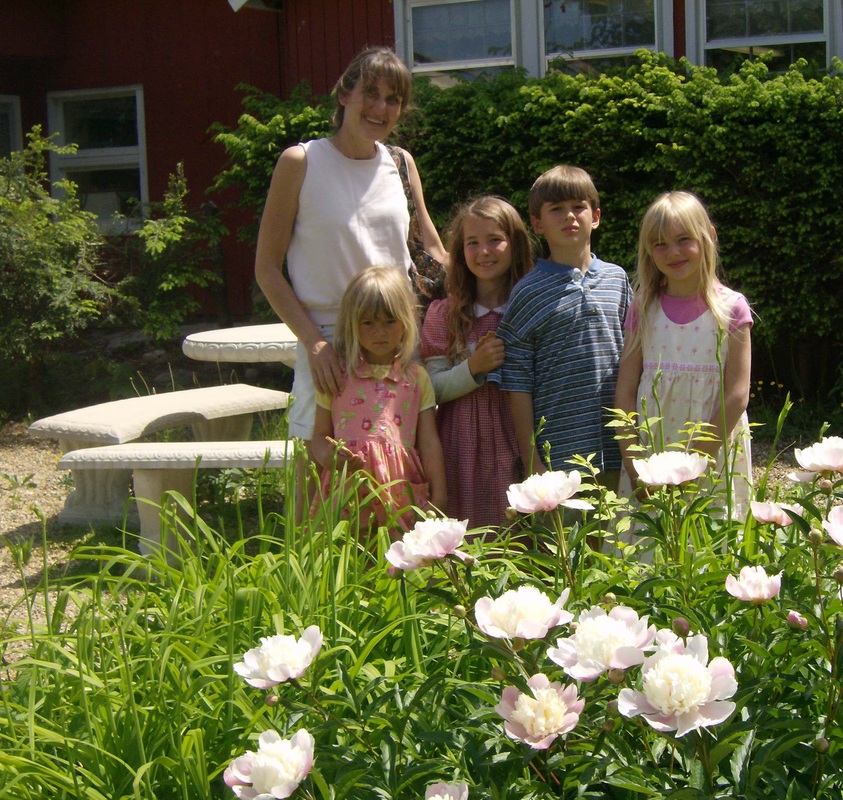
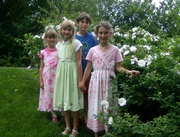
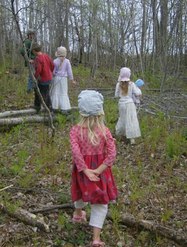
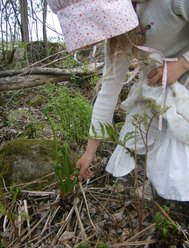
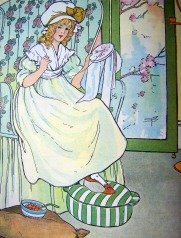
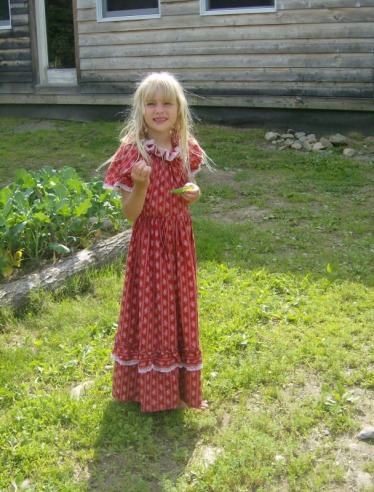
Our girls' little friend, Mattie, has this darling dress that Caitlyn loves to dress up in when we come to play. I've decided that I simply must sew a dress like this one for all our girls...what do you think??
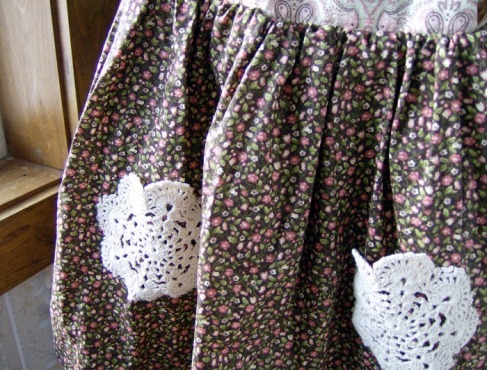
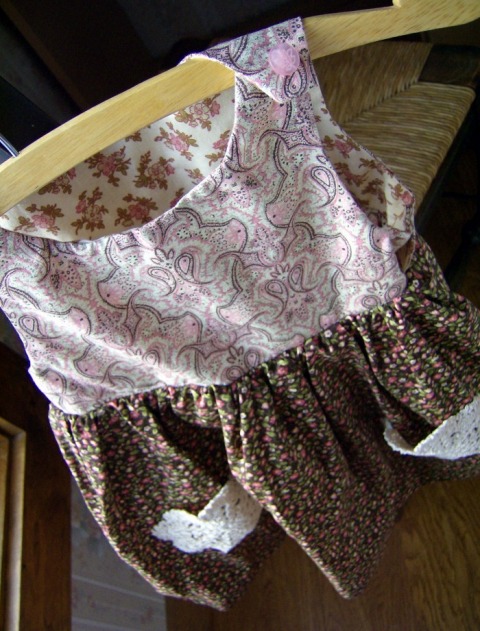
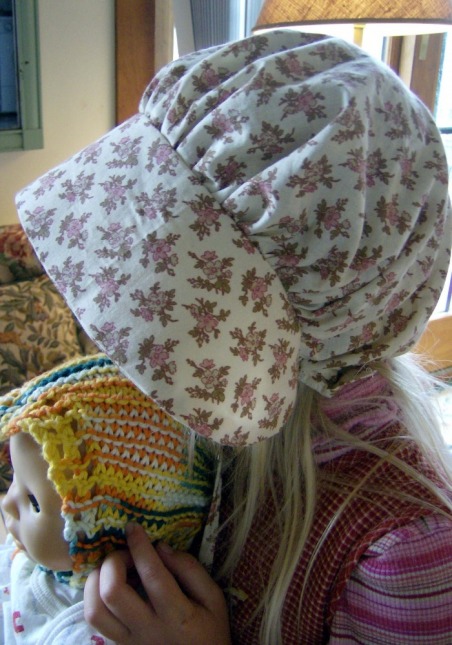
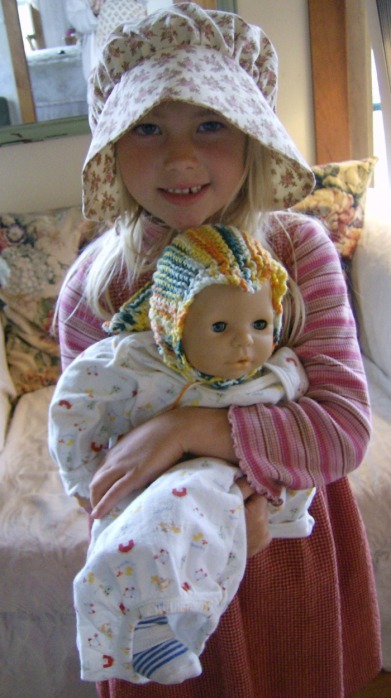
It's a scoop neck with elastic to gather it in, elastic around the sleeves and at the waist. Then a big twirly skirt with a ruffle at the hem. I LOVE it, too! Perhaps with a prairie bonnet and apron to top it off! : D
3 Comments
By some miracle of miracles, I somehow managed to get this little pink jobbie working today for Caitlyn. The smaller the simpler...right??? wrong. I won't even tell you how long it's been sitting on a shelf gathering dust. Looks like it's dust collecting days are over...woo hoo! Go Caitlyn! And little Asheley wants in on the action, too.... Sew while we're at it (har har), here's a simple little book bag by Anna Maria we can't wait to try...just made from dishtowels! Everyone's just SEW happy!! : D Our sunshine girl, Caitlyn Grace, is turning 7 years old today! Impossible!! We call her our sunshine girl because from the time she was a teeny baby, she has always had the biggest smile and most exuberant personality! And as it would turn out, she also happens to just LOVE bright sunshiney colors...like warm pink, lime green, sky blue, and sunshine yellow. Her favorite colors together (at the moment!) are yellow and red...but she likes pinks, greens, and blues in the mix, too...as long as they're bright! This is the cotton flannel fabric Caitlyn picked out this week for some snuggy winter pantaloons. I managed to get them finished before bedtime last night...so she got to wear her pantaloons to bed on her Birthday Eve! Yay!! : D
Pretty pastels remind me of Spring...but there's also something a bit wintry about them, too. Don't you think...?? This pale blue gingham proved to be the perfect answer to my first tentative steps toward making britches...in this case they're 'pantaloons'... I wasn't exactly sure how this pattern was to piece together...and this fabric is exactly the same on both sides...so if I messed up by not cutting the mirror image or did something upside down or backwards...this would be far more fixable! Yes, it's just days before Christmas...and we're counting down to all the things I still haven't gotten finished...much less into the post office! This is the little dress that's supposed to go with the blanket I've been knitting. Well, would you believe that with only about 4 inches left to go on that blanket...I ran out of yarn? OK, so what, get more yarn. That's been my problem. This yarn color that I've seen everywhere from Wal-mart to craft stores is suddenly MIA!! As in nowhere to be found! BUT I will find it! In the meantime, however, I wanted to send the dress anyway... So here I am down to the last minute and I'm intimidated beyond belief of my sewing machine contraption and how exactly to sew a buttonhole! I've done it before when my mom was here...but that was eons ago. Turns out that this was such a total non-issue that I'm still dizzy-headed as to how completely uncomplicated and easy this was! Give me lots and lots of buttonholes, please, this a button-sewin' breeze! First I located the buttonhole foot and got my little button loaded in the back of it. This automatically measures the size of the buttonhole that's needed. OK that wasn't too tremendously difficult... Then all I had to do was change the setting number to the buttonhole type that I wanted and next just hold onto that top little thread there....pushed the gas pedal and the machine took over...did it all...reinforced...then just stopped automatically when it was done. Wow! I'm so amazingly impressed with modern technology....and my new best friend...MY SEWING MACHINE!! : D Voila!! There it is! Is that a beauty or what...?? Next, I had to run a pin through the top of the buttonhole so that when I ripped open the hole part it wouldn't go into the stitches of my beautiful buttonhole...that would definitely not be a good thing! Here I go with the ripper up through the center... I sewed on the button and...it works! Yippee!! I am enthused!! Since I've made this a reversible dress, I needed a 'fake' button on the other side, too. So here I am sewing on the 'fake' button for this side of the dress... There. That looks pretty convincing, doesn't it? In retrospect, I would probably use flatter buttons next time. Two of this style button were a little on the thick side...I just loved the little rose design they had on them and didn't think about the chunkiness factor....but hopefully it'll be alright.... So here is Side 1 of the dress... The brown skirt from the other side is peeking out at the bottom...the next photo shows that a little better... We were trying to get this to post office before it closed at noon...however I really felt like Side 2 needed some sort of embellishment...but what...?? I had a stack of cream doilies and decided they would make some cute pockets. So in a hand-stitch-whipping frenzy I got a couple of pockets on in record time... And all the girls in the house thought they were absolutely adorable! Now I know what I'm going to do with that stack of doilies... I tacked together the two sides of the bodice under the armholes (only about an inch of fabric)...and it was finished!! Ready to fly to Tennessee and little Chelsea! At first I thought Side 1 could not be outdone...but I think I've now become more partial to Side 2! Either way I'm ready and rearin' for the next dress! Bring it on!! : D The Potluck Dinner (yes, that's with a capital P and a capital D) that we've been planning and anticipating with a fervor of excitement for over 2 months now finally arrived this past Sunday. We had 4 families (more than we've ever dared before) over which amounted to 8 adults and 12 children all squeezed and squished cozily into our teeny-tiny, itsy-bitsy house. We love having folks over...always have, however, we've just had to be realistic as to how many can actually fit comfortably and be able to eat a meal with at least a reasonable amount of elbow space...or not having to sit on the floor in order to do so. But, ya know what? We were all quite amazed at how cozy (as opposed to crammed...which I was convinced it would be!) it worked out to be. We were moving furniture in a frenzy, so this is the best 'before' pic I have of said nook...yeah, rather non-descript and not the greatest use of space, I know. But I can't relay to you adequately how truly small this room is...and how there's basically no closet space...so it worked....sort of.... Now here we go...this is a great 'before' pic...this is what I was continually contending against with this 'nook' of the living/dining/homeschool/craft area. This is where a table (as in dining table) really needed to go. We bought this cute little desk for $35 and I got the great little farm chair for only $5. It was supposed to be for the new computer we got this summer....as well as, ya know, a super space for desk work, crafting...letter writing....um, indoor herb garden...ya know, all that great kinda stuff...so....yeah, right... And now...drum roll please....Ta-Da!! Here it is! My new Sewing Nook...from assorted camera angles! Can I tell you what a little re-organization does for the rejuvenation process...?? The slits in this basket also make a nice ribbon organizer, too...had not thought of that before either.... And while we're on the tour, I might as well show you the first little dress that I've ever done in my life from cutting out the pattern to...well, where it is right now...almost finished...but not quite. This is for my friend, Amy's year old daughter Chelsea...that I'm trying to have done for Christmas. Amy, if you're reading this, please don't let Chelsea read this blog ( I know how much Chelsea loves reading my blog...she's the one that leaves the gurgle comments)....or even look at the photos! Shhh...it's a secret! This is a close-up of the skirt...it's gonna be reversible....I ADORE reversible dresses! And the little dress is to coordinate with this baby blanket that I've been knitting...for quite some time now. Amy did Chelsea's room in pink and chocolate...the walls are painted in bold pink and chocolate stripes...it's TOO cute! I need to somehow pirate some of Amy's photos to show you. I know you'll love it, too! It's done with the same eyelet edging (very simple...and quite fetching) as done in this pattern... So that's it! I hope you enjoyed the tour. Now I'm going to go sit and revel in my new nook look...wish you were here to join me! The prairie bonnet...the first of my sewing projects that I've actually finished. Yay!! And the mop hat I cut out and Mom finished for us while she was still here... Serious business with serious bonnets...
How young is too young to start stitchin'...?? Perhaps when they can control the urge to stick everything in the mouth, is a good barometer as to when to start! My little ones started out with the thick plastic needles and some burlap with yarn for the thread. You can also use those flat plastic mats with the little squares that come in various shapes and forms. I also found some little sewing kits with the pre-punched holes in felt for making butterflies, purses, pillows, etc. that include all the beads and baubles to go along. Did we actually ever finish any one of those projects? Um, no. But they did get much practice making huge tangled weird messes with a needle and yarn...and believe me, that was just as satisfying! So let's just give 'em some real mending to do! Somewhere around late 4, 5 or 6, they can begin to handle this kind of thing (age 4 you might want to transition with the metal yarn needles that are larger and not so sharp). Just make sure that you keep an eye on where they put their needles down...absent-mindedness is still an issue here...which I suppose never really changes with time, I'm afraid. Mending certainly falls into the 'real work' category and, once they get the hang of it, this saves mom eons of time in doing all the mending and button sewing that remains a constant in any household with ready-made clothing these days.
I did indeed not only survive that sewing class but had an absolute blast! Our instructor is a wonderful woman who taught home-ec for thirty years and you can tell that she's very creative and just LOVES what she does! Tonight begins the first evening of a once-a-week sewing and quilting class I signed up for this past week at the local high school. We're promised 3 hours of personalized instruction on our own machines doing any project we care to bring...I couldn't have asked for a more tailor-made course to my liking! Soooo why today am I this nervous, giddy, confused ninny...floundering around looking for that precise project I'm dying to finish...or even learn how to do...???!!! Should I start on a simple jumper dress...or try to do my first quilt from start to finish... or complete those adorable prairie bonnets and pinafores the girls have been craving for months now.... or how about that little cloth doll pattern that's got me too intimidated to even pull out of the package...when it's SO much easier just to look at the cute picture on the front...??? My dream of dreams, of course, is to make quilts like Anna Maria...or swinging skirts like Portabellopixie...or lovely bags like these on Turkey Feathers Homecraft. My husband asked me this morning what I was so nervous about...he said something like, "What...do you think you're not good enough to actually teach the class? Of course you don't know what you're doing...that's why you're going...right?" Well...yeah...if you put it that way. But I just know that no one will be as clued out and clutsy as I am!! That's all. |
I've moved my blog to...
The Romantic Mom blog
The Romantic Mom
Let's Chat!
what else am I doing?
|